


Photo by Karine Avetisyan on Unsplash
How to Build a Link in Bio Tool with Cloudflare Workers
Beginner-friendly tutorial on Cloudflare Workers and KV


Cloudflare Workers provide a globally distributed serverless environment that is highly available and scalable. In this article, we will leverage the power of Cloudflare Workers and KV, a low latency distributed key-value store to build a simple Link in Bio tool, similar to Linktree and Lnk.Bio.
A Sneak Preview
This is what the finished project will look like:
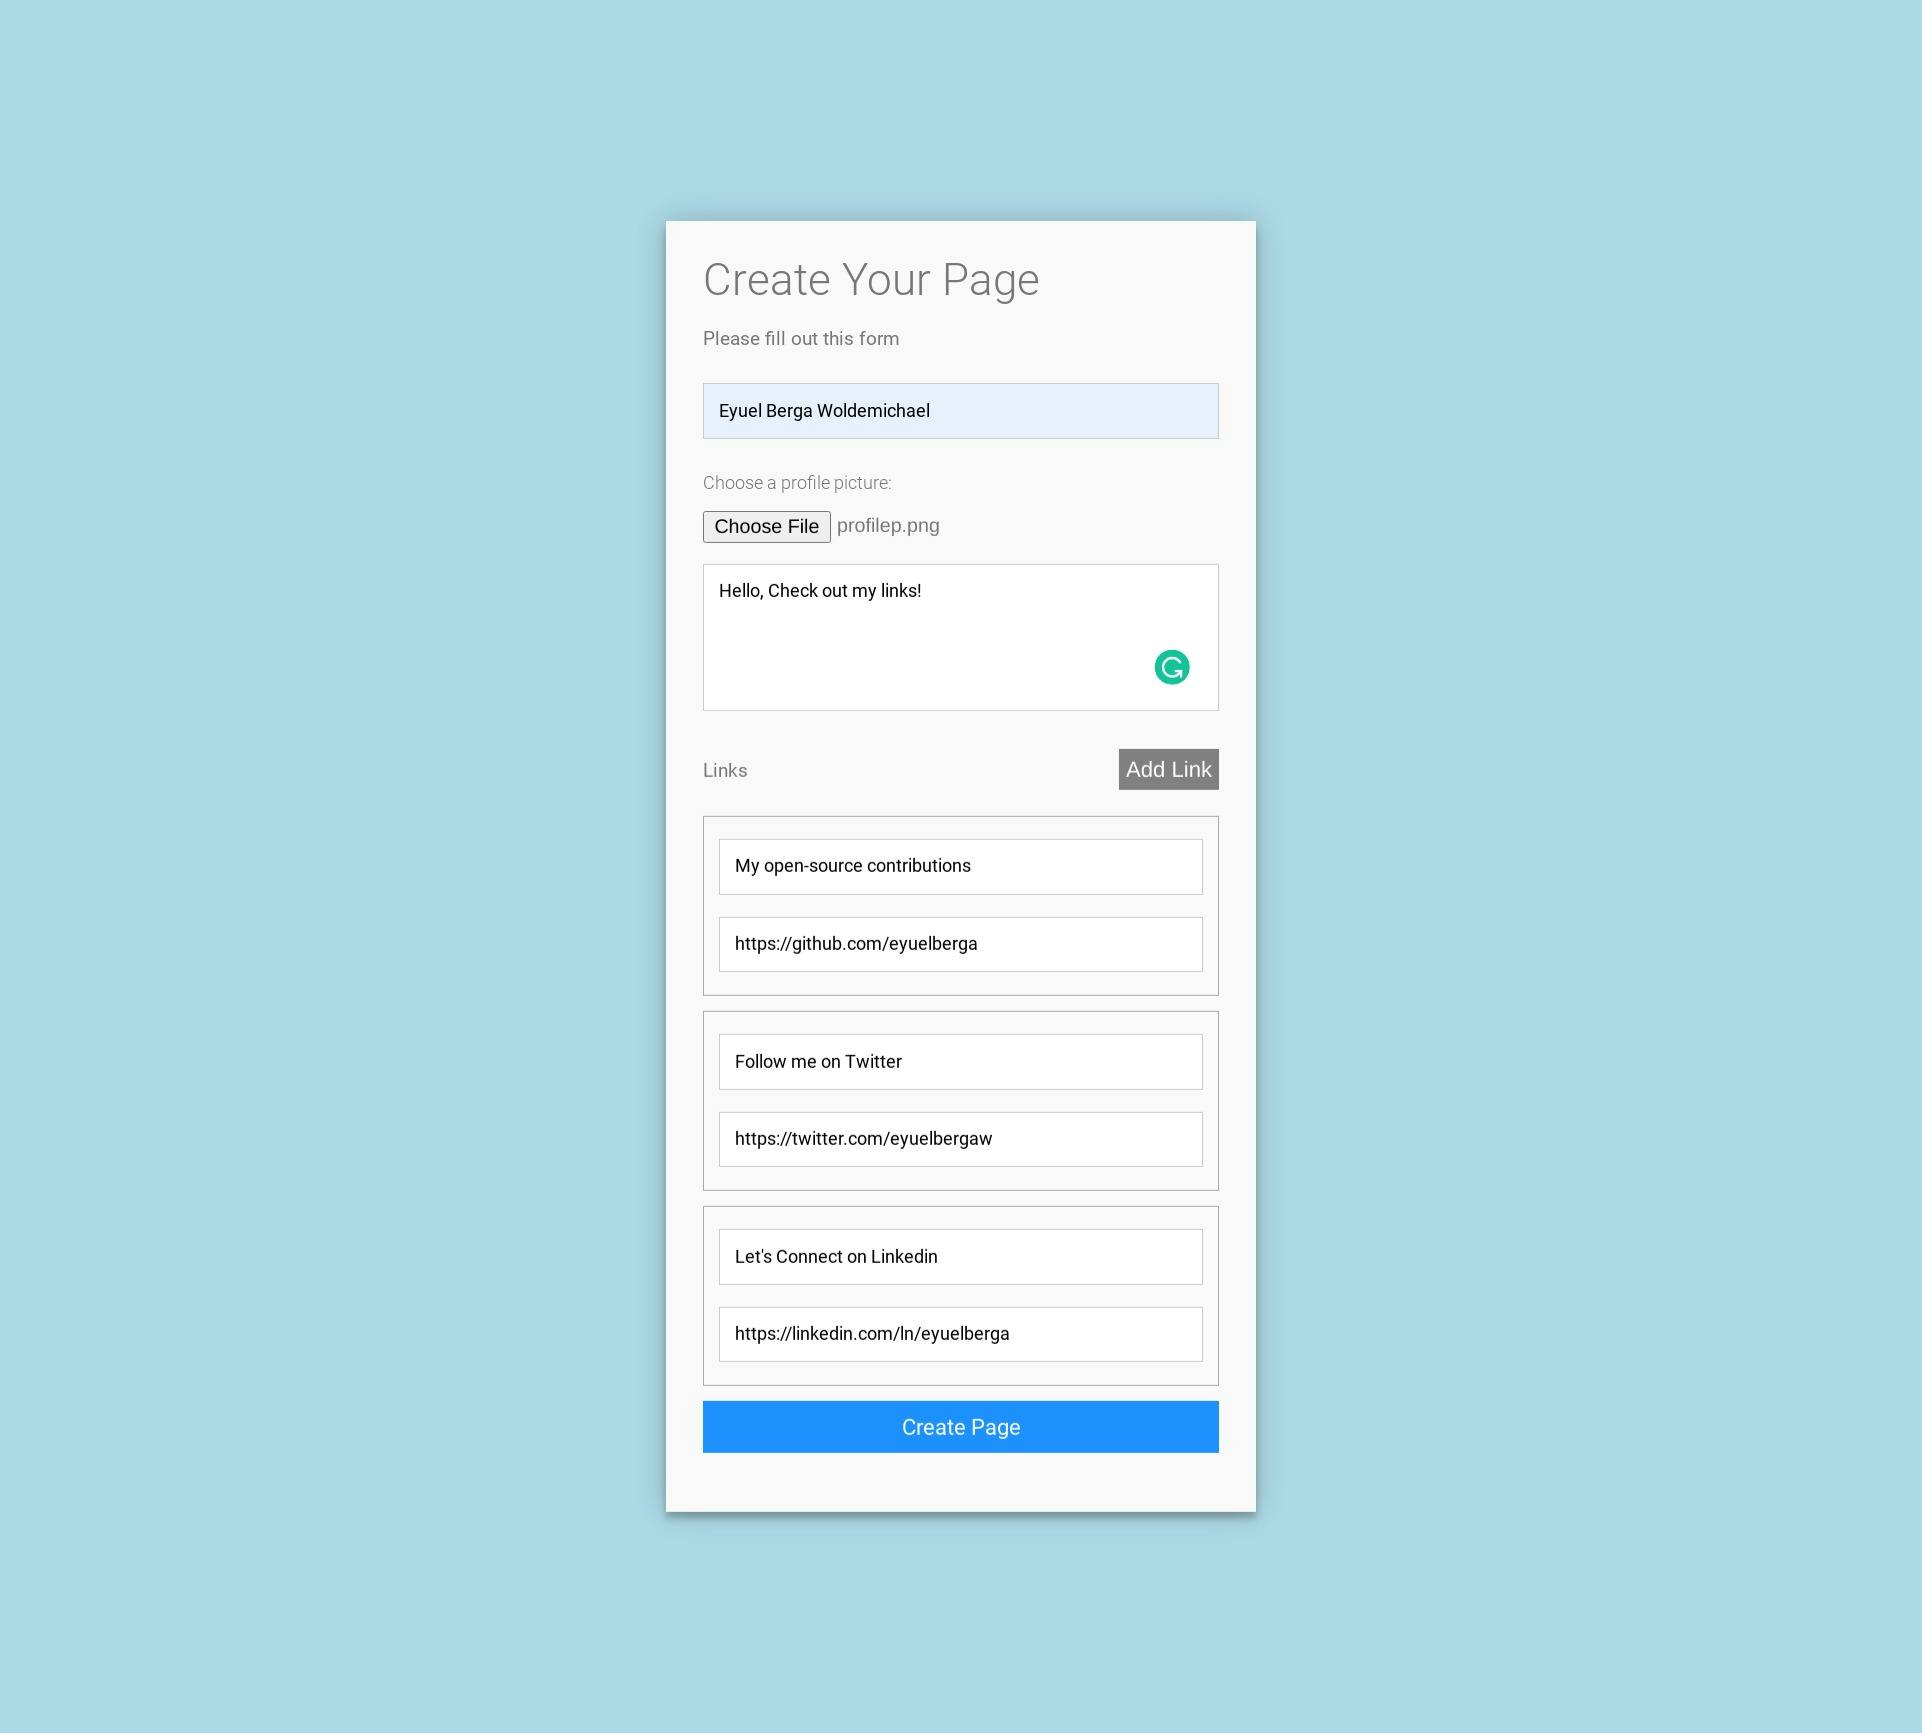
There is a form for creating a new page
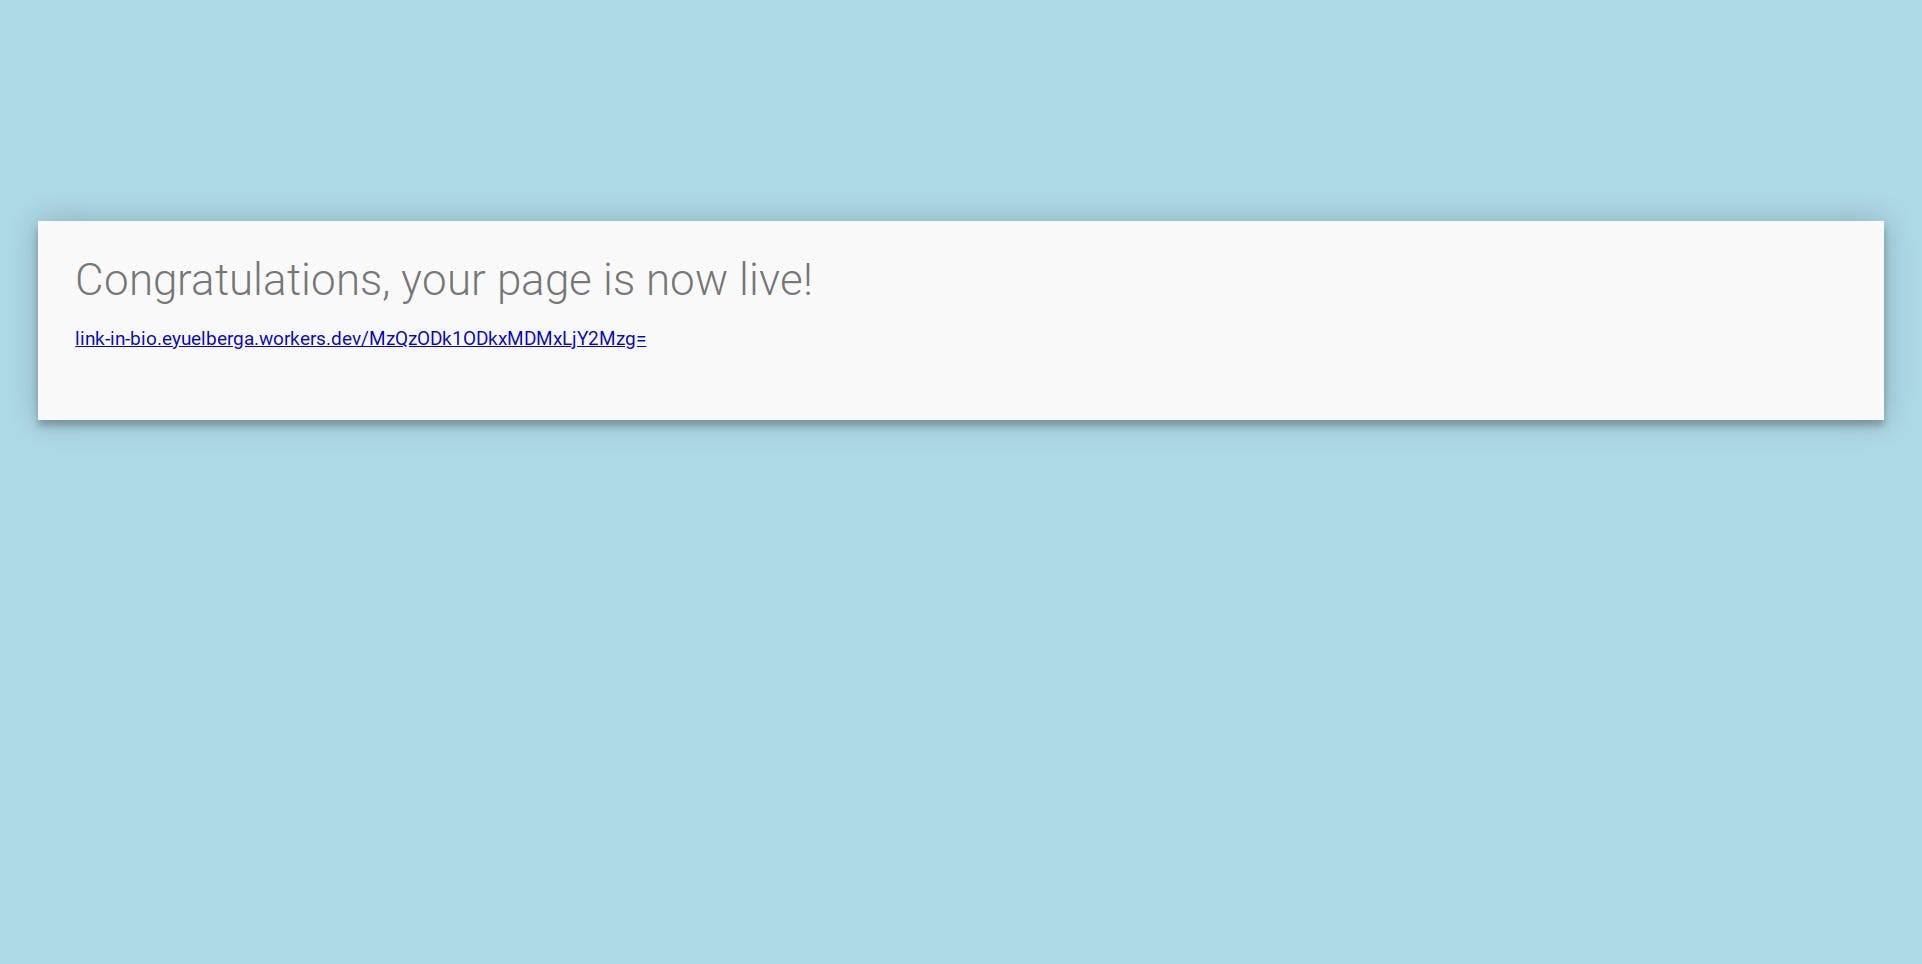
After successfully submitting the form, the link to share on social media will be displayed.
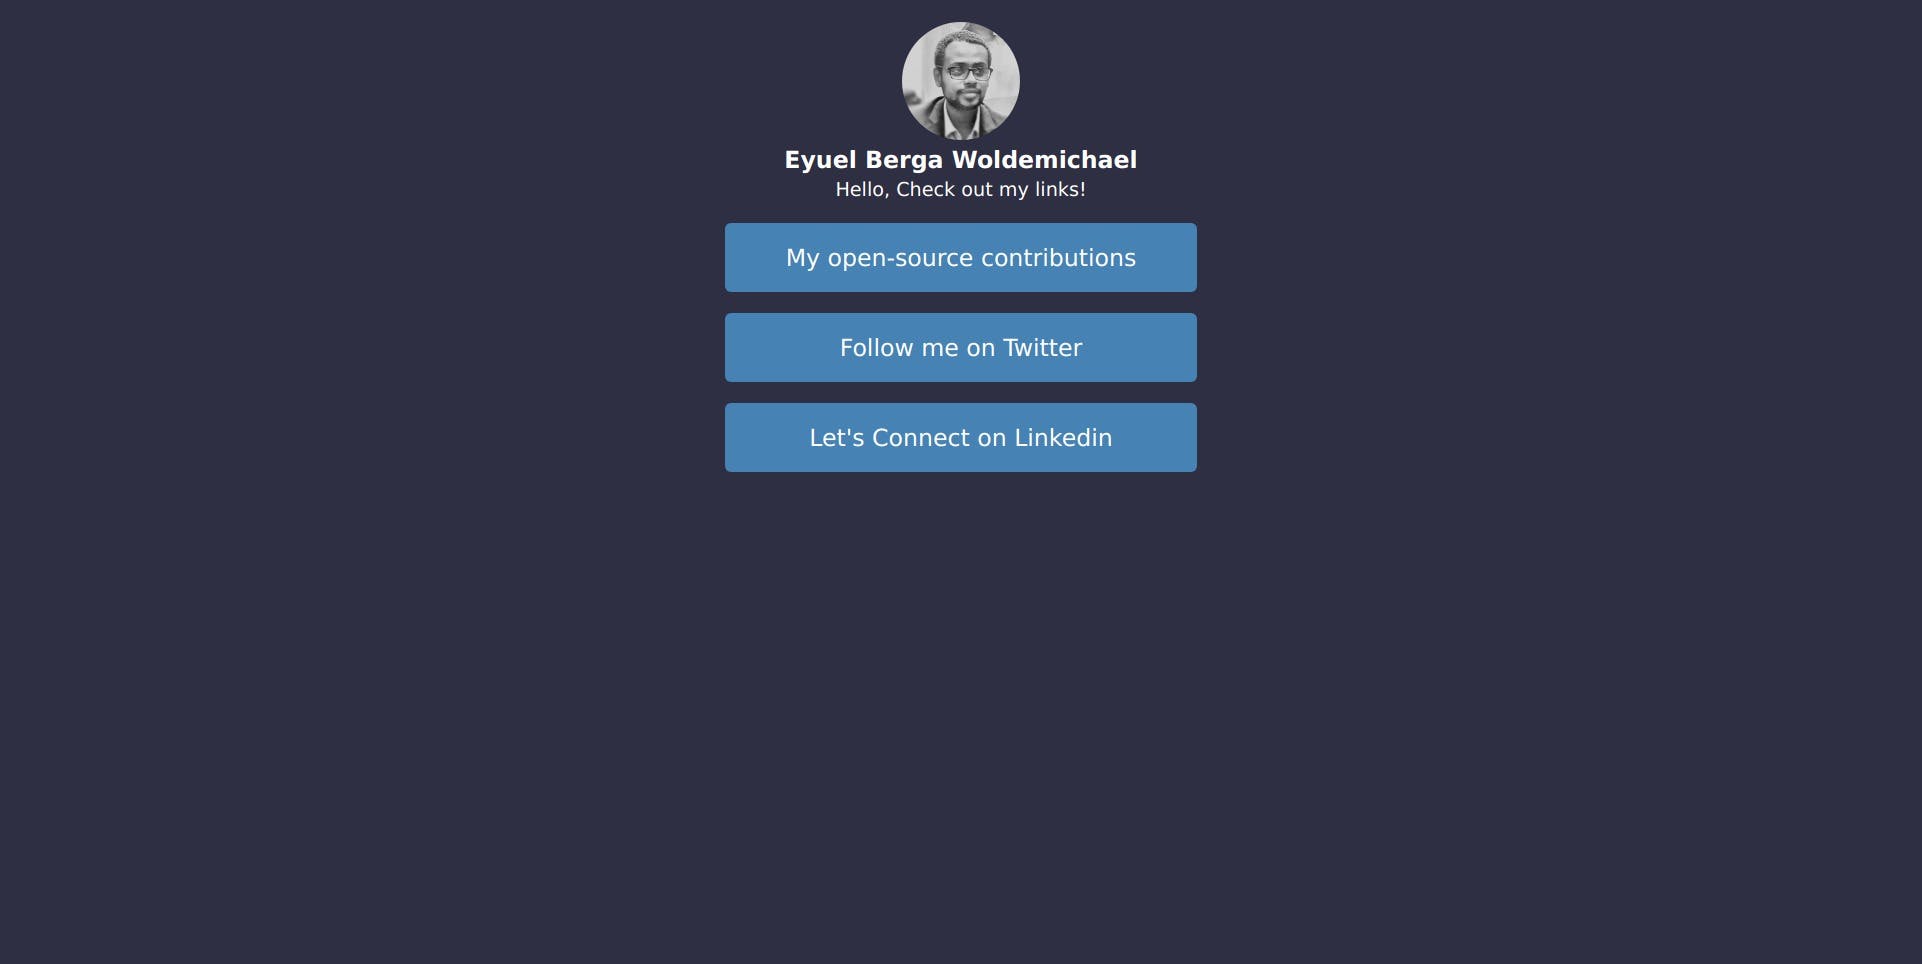
This is what people will see when they go to the link.
Initializing a new Project
Let's start by initializing a new project using the Wrangler CLI. Go ahead and run this command:
$ npx wrangler init link-in-bio
We will be using Typescript for this tutorial, so answer yes when prompted.
Creating a KV Store
Run the following commands to create a new KV store:
$ npx wrangler kv:namespace create "LINK_IN_BIO"
$ npx wrangler kv:namespace create "LINK_IN_BIO" --preview
We will also need to update the wrangler.toml file to include the namespace bindings.
...
kv_namespaces = [{ binding = "LINK_IN_BIO", id = "xxxxxxxxx", preview_id = "xxxxxxxxx"}]
Running locally
We will start up the dev server to build and run the project locally by running the following command:
$ npx wrangler dev
Creating the web templates
We need three pages for the project. The home page will have the form. The profile page will render the links and profile info of the user. Lastly, we will need a success page that will be rendered after the user successfully submitted the form, it will contain the link that will be shared on the social media profile.
The templates are standard HTML documents wrapped around a function. They are quite long to include here, so check them out on Github. There are also some TypeScript interfaces in profile_page.ts. The ProfileContent is the input type for the profile page template.
export interface Link {
  name: string;
  url: string;
}
export interface ProfileContent {
  name: string;
  picture: string;
  description?: string;
  links: Link[];
}
After creating those files, import them to index.js.
import profilePage, { ProfileContent, Link } from "./profile_page";
import homePage from "./home_page";
import successPage from "./success_page";
We will also destructure the LINK_IN_BIO, which is our KV store, from the env object. Our fetch function now looks like this:
export default {
  async fetch(request: Request, { LINK_IN_BIO }: Record<string, any>): Promise<Response> {
     ...
  }
}
Handling HTTP Requests
There are two GET requests we need to handle. If there is no path will just render the homePage.
// handle get request
if (request.method.toLowerCase() === "get") {
   const url = new URL(request.url);
   // home page route
   if (url.pathname === "/") {
      return new Response(homePage, { headers: { 'Content-Type': 'text/html' } });
    }
}
If there is a path in the URL we will render the profilePage with the page content we get from our KV store. First, we extract the key from the URL and then get the value from KV by calling the get method on LINK_IN_BIO.
// handle get request
if (request.method.toLowerCase() === "get") {
   const url = new URL(request.url);
   // home page route
   if (url.pathname === "/") {
      return new Response(homePage, { headers: { 'Content-Type': 'text/html' } });
    }

    /**
     * Additional code to handle route with a path
     **/

    // extract key from url
    const key = url.pathname.replaceAll("/", "");
    // render profile page
    const content = await LINK_IN_BIO.get(key);
    if (content) {
       return new Response(profilePage(JSON.parse(content)), { headers: { 'Content-Type': 'text/html' } });
     }
     // key is not in the store
     return new Response("Page does not exist", { status: 404 });
}
The next thing we need to handle is the POST request. It is invoked when the form on the home page is submitted. The first thing to do is get the form data from the request. We will also create the variable content to store the profile content we will put in KV. It will have a type of ProfileContent, which is the same as the input for the profilePage template.
 // handle post request
if (request.method.toLowerCase() === "post") {
   const formData = await request.formData();
   const content: ProfileContent = { name: '', picture: '', links: [] };
}
We also need two helper functions .toBase64 will be used to convert the profile picture to a base64 string and generateId a simple unique ID generator for generating keys for our KV store.
// convert file to base64
const toBase64 = async (file: File) => {
  const buffer = await file.arrayBuffer();
  var binary = '';
  var bytes = new Uint8Array(buffer);
  var len = bytes.byteLength;
  for (var i = 0; i < len; i++) {
    binary += String.fromCharCode(bytes[i]);
  }
  const base64 = btoa(binary);
  return `data:${file.type};base64,${base64}`
};

// generate unique id
const generateId = () => {
  return btoa((Date.now() * Math.random() + ""));
}
The form on the home page allows users to add an infinite number of links to the form. Each new link input will have a number associated with it, like link_name_1 and link_url_1. You can take a look at the code on Github.
We will write a little code to get all the link names and URLs from the form and group them based on their number. We map them in an object first and then store the list of links in the content variable.
 // handle post request
if (request.method.toLowerCase() === "post") {
   ...
   // map to store all links in the form
   const linkMap: Record<number, Link> = {}
   // iterate over all entries in the form data
   for (const [key, value] of formData) {
      // extract number from the field name
      const numberMatch = key.match(/\d+/)
      const number = numberMatch ? parseInt(numberMatch[0]) : undefined;
      // add link name to linkMap
      if (key.includes("link_name")) {
         if (number && typeof value === "string")
            linkMap[number] = { ...linkMap[number], name: value }
      }
      // add link url to linkMap
      else if (key.includes("link_url")) {
         if (number && typeof value === "string")
             linkMap[number] = { ...linkMap[number], url: value }
       }
   }
   // add links to content from linkMap
   content.links = Object.values(linkMap);
}
Next, we'll get the name, description, and picture from the request and add them to our content variable.
 // handle post request
if (request.method.toLowerCase() === "post") {
   ...
   // map to store all links in the form
   const linkMap: Record<number, Link> = {}
   // iterate over all entries in the form data
   for (const [key, value] of formData) {
       ...
       // add name and description to content
       else if ((key === "name" || key === "description") && typeof value === "string") {
          content[key] = value;
        }
        // add profile picture to content
        else if (key === "picture" && typeof value !== "string") {
           content[key] = await toBase64(value);
        }
   }
   ...
}
Okay, the last thing we need to do now is, add the content to our KV store and display the success page.
 // handle post request
if (request.method.toLowerCase() === "post") {
   ...
   // generate a unique ID
   const id = generateId();
   // add content to KV
   await LINK_IN_BIO.put(id, JSON.stringify(content));
   // display success page
   return new Response(successPage(id), { headers: { 'Content-Type': 'text/html' } });
}
Publishing
We're all done with our implementation, so let's deploy it. To publish our Cloudflare Worker we need to run the following command:
$ npx wrangler publish
Now our worker will be running across the globe. Awesome!
Conclusion
There are still some modifications we could do like adding authentication, custom IDs, and customizable profile templates. But I hope this tutorial gave you an idea of the kinds of applications you can build with Cloudflare Workers and KV.
I hope you enjoyed reading this article. You can find the source code for the project on Github and also check out the live demo.